Making A Medieval Heater Shield
I am a computer programmer. First as a hobby, and then secondly for work. But I discovered that having kids changes a lot of habits. I come home from work and before getting to relax I have noisy kids that need some attention. By the time they go to bed, my wife and I basically just feel like crashing on the couch. I don't have the mental energy left to do some hobby programming.
But I discovered that working with my hands is different enough that I can find enjoyment and relaxation in it. Therefore I have tried to encourage myself to pick up skills that involve working with my hands. I have done some home improvement projects, some of which involve working with wood. Then I found something else I could do with that minor wood working skill.
One way to relax after work while the kids are around is watch YouTube videos using AirPods to hear over the noise. I can sit close to the kids, play with them while they are interested, and go back to my video when they aren't. But I don't watch videos just for entertainment, because that doesn't engage my mind very well. I pick my entertainment to also be educational. So I watch some channels about Medieval European history, most of which focus on swords, arms, and armor. Of interest to this story are: Tod's Workshop and Shadiversity.
I watched a video where Tod describes several different types of Medieval shield. He goes into some details about how the shields are constructed, since part of his profession involves creating historical replicas. I was at first surprised by the fact that these are mostly wood and fabric, not metal. It seemed almost like something I could do.
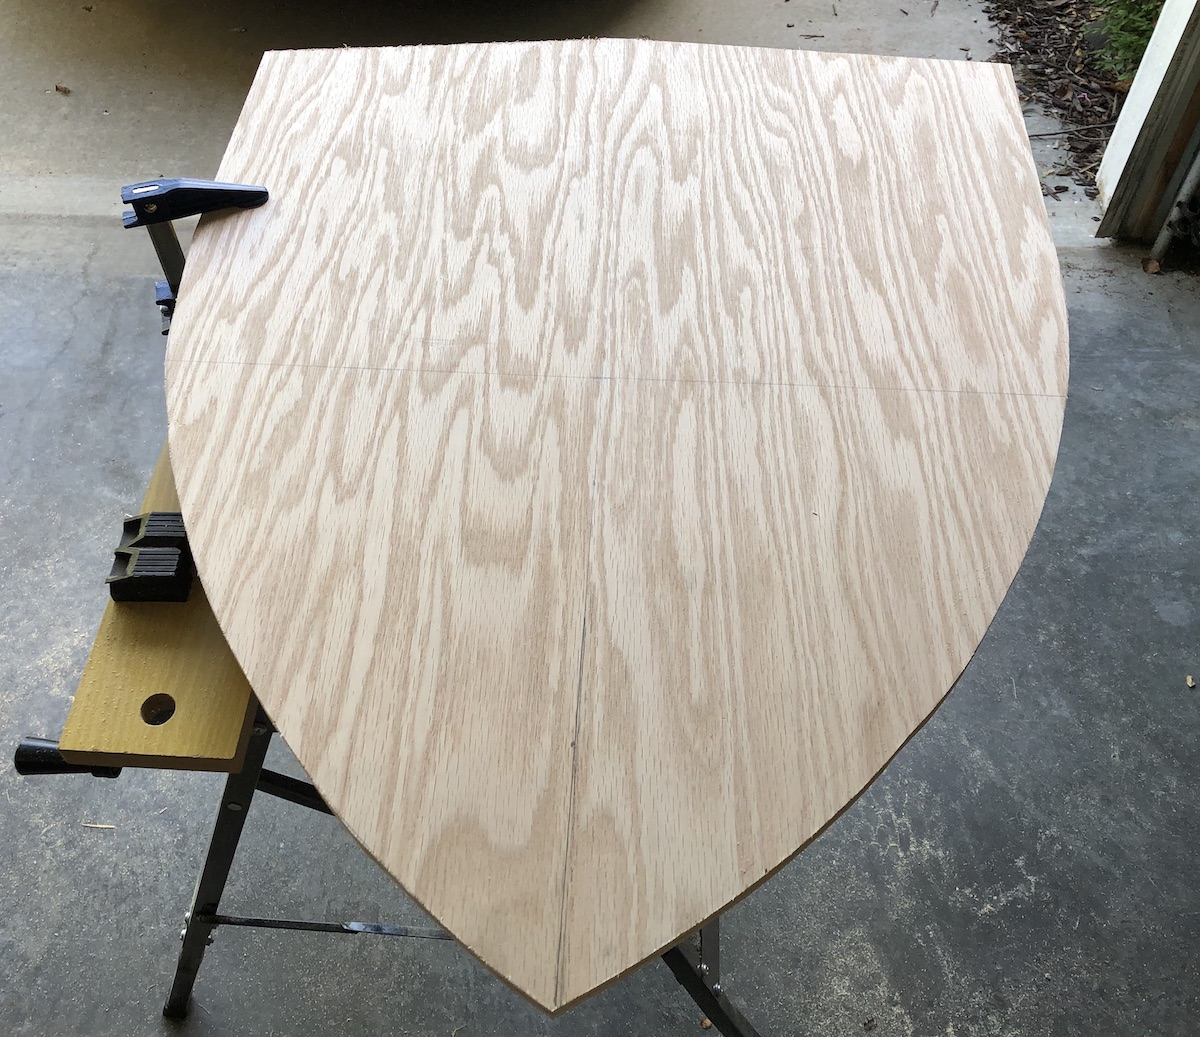
Of the various shields, the most classically knight-shaped shield to my mind is the heater shield. It is the one that is kind of triangular at the bottom and round or flat on the top, with a strap for your arm on the back. It isn't too large, it fits the time period and place I'm most attracted to, and it does not require a metal shield boss in the middle that would be harder for me to make or source.
Then I watched a video on the Shadiversity channel where Shad makes his own heater shield. He did it differently than Tod's video, but it served as an encouragement for me, that yes an average history enthusiast could make something that was more or less a "historical analogue" without quibbling over whether it was perfectly historically accurate.
So I did a little research on materials and came to the conclusion that yes, I could build one of these. And I was going to.
Following The Plan
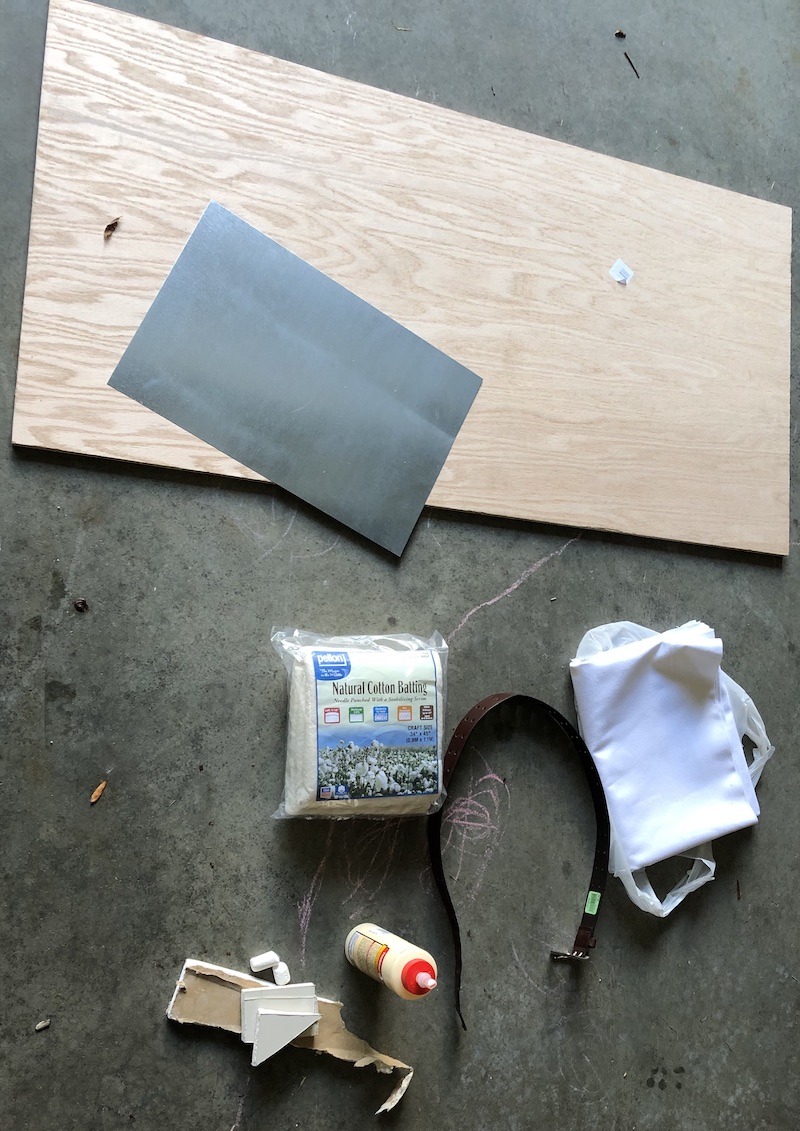
The main components seemed to be the right kind of wood and the cloth with gesso.
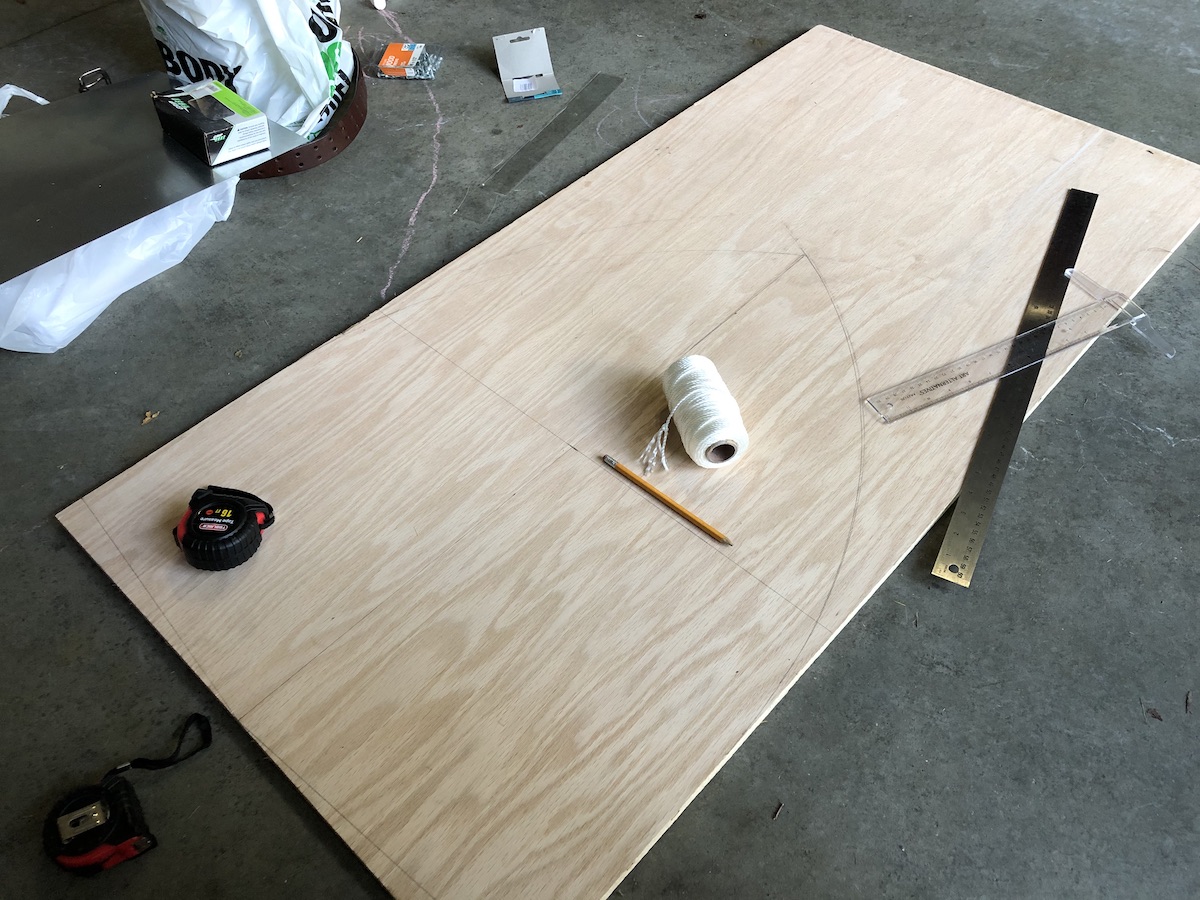
In Tod's video, near the beginning, he talks about how he used poplar because of its qualities in holding together even when breaking. The cloth further helps hold it together. So the wood of the shield didn't need to be particularly thick. In my local hardware store I didn't find poplar wood, but a quick online search listed several woods with similar properties and that included red oak. The hardware store did have some red oak panels, made of a couple layers alternating and glued together, which I thought fit pretty well with the intended use since Todd did mention alternating thin panels for some kinds of shields. So I bought a 2 foot by 4 foot panel of that.
The cloth mentioned in the video is linen, but at the local fabric store I found mostly synthetic blends that were linen-like. Actual linen was more expensive. But cotton fabric is also a natural fiber so I figured that was close enough. A little cheat, but I supposed if medieval folks had cotton they could have used that.
I did cheat a little by using staples to help hold the cloth on the back of the shield in addition to the glue. My aim was "historical analogue" so I didn't mind some minor cheats to let me accomplish this in a way that wouldn't simply fall apart and could be done with modern, cheap home improvement tools.
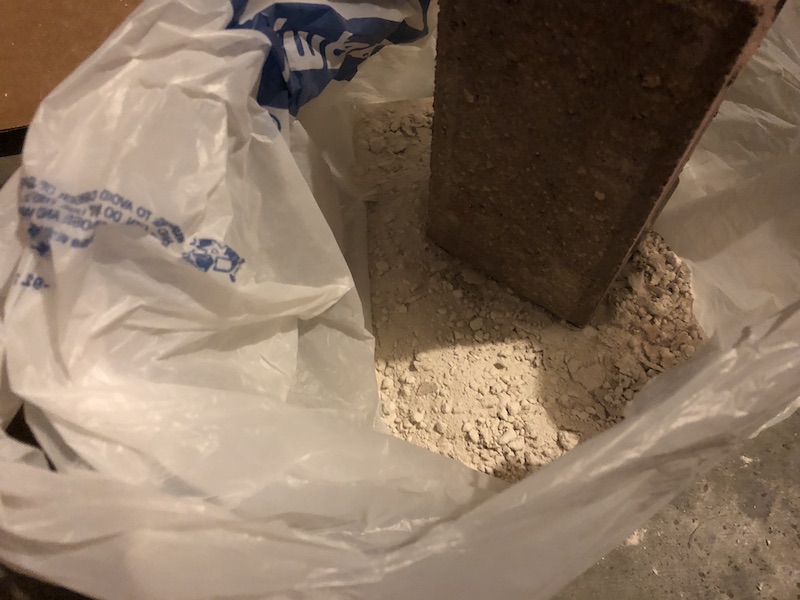
For gesso, I looked up what that was and saw it was just glue with chalk. While art supply stores sell it, I figured I could probably just make some. From experiments as a kid with discarded drywall sheetrock I knew it acted a lot like chalk and I just happened to have some extra small and broken bits lying around in my basement. So I took a brick and hammer and smashed up some sheetrock in a plastic bag, then sifted the dust to get a powder. Then I mixed that in with wood glue to make my gesso.
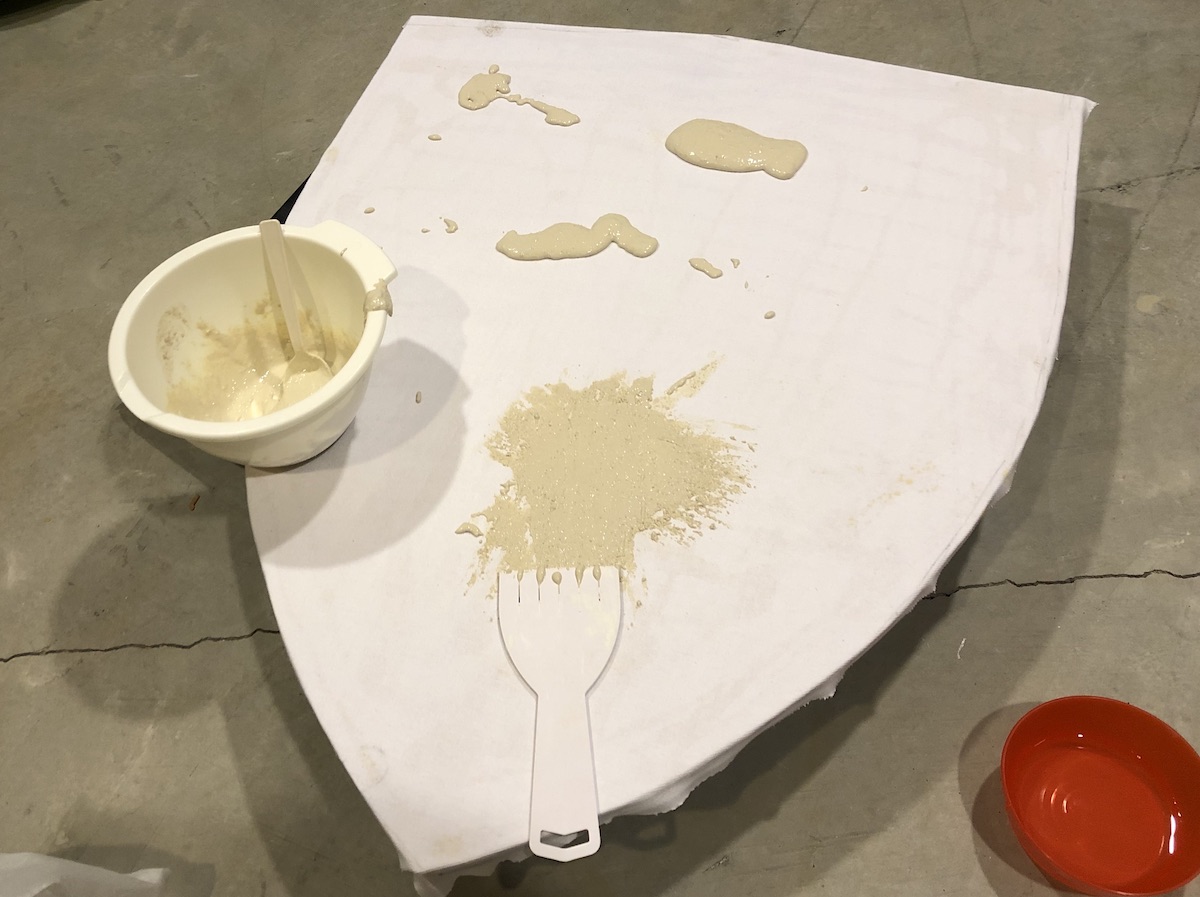
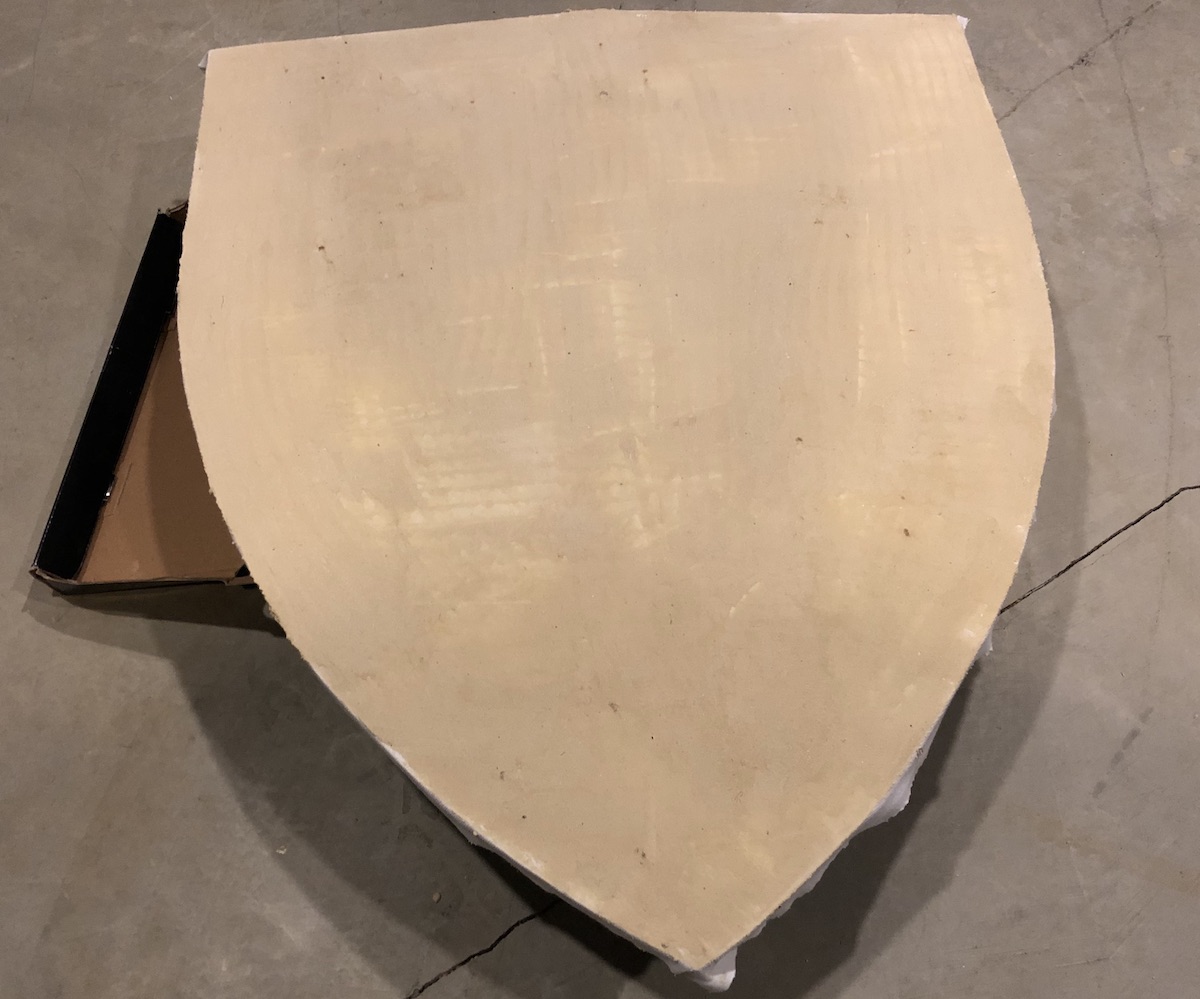
This gesso actually worked pretty well. It spread on thick with a drywall mud trowel and I went over it several times to make it smooth and thin. The texture was very rough like sandpaper made out of sand, but when it dried it made a nice hard shell on top of the cloth. I sanded that just a little. The color was a slightly browned white.
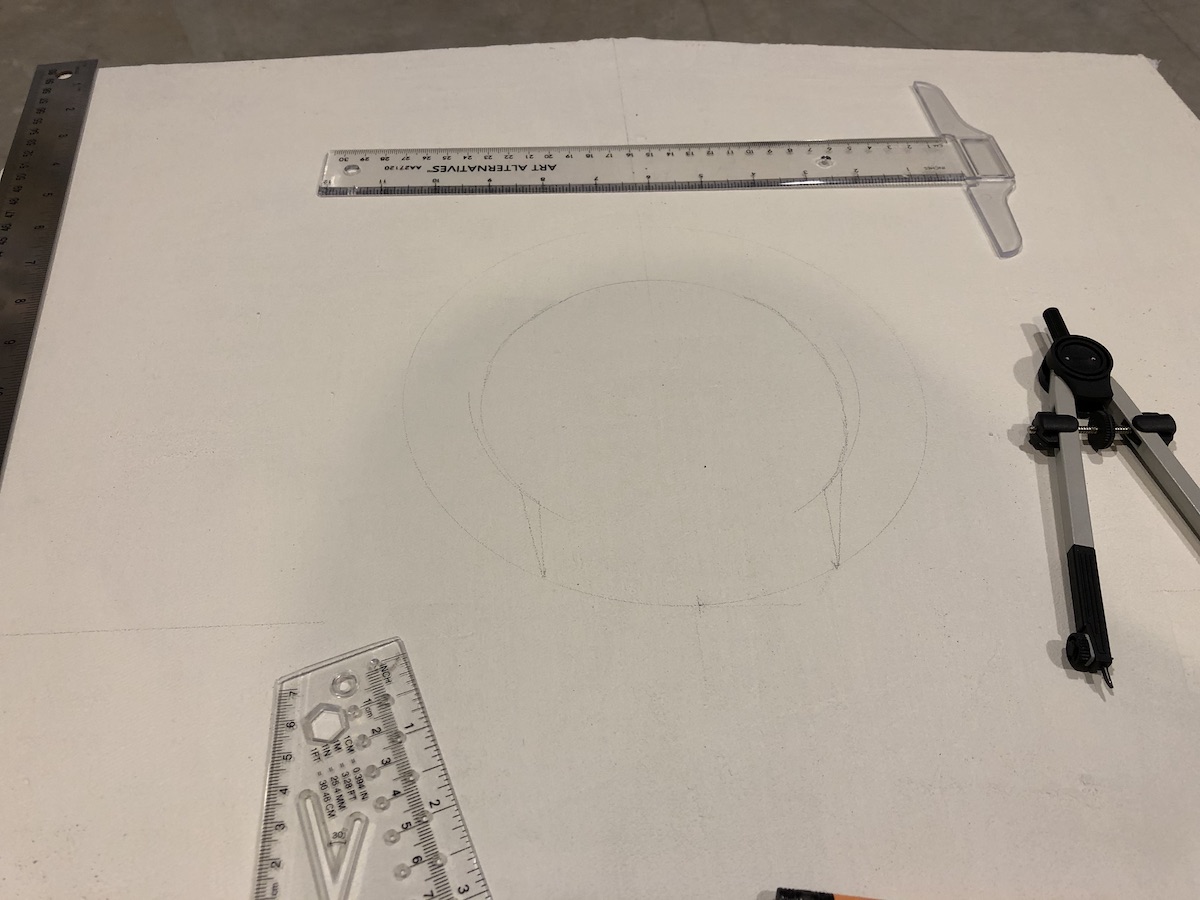
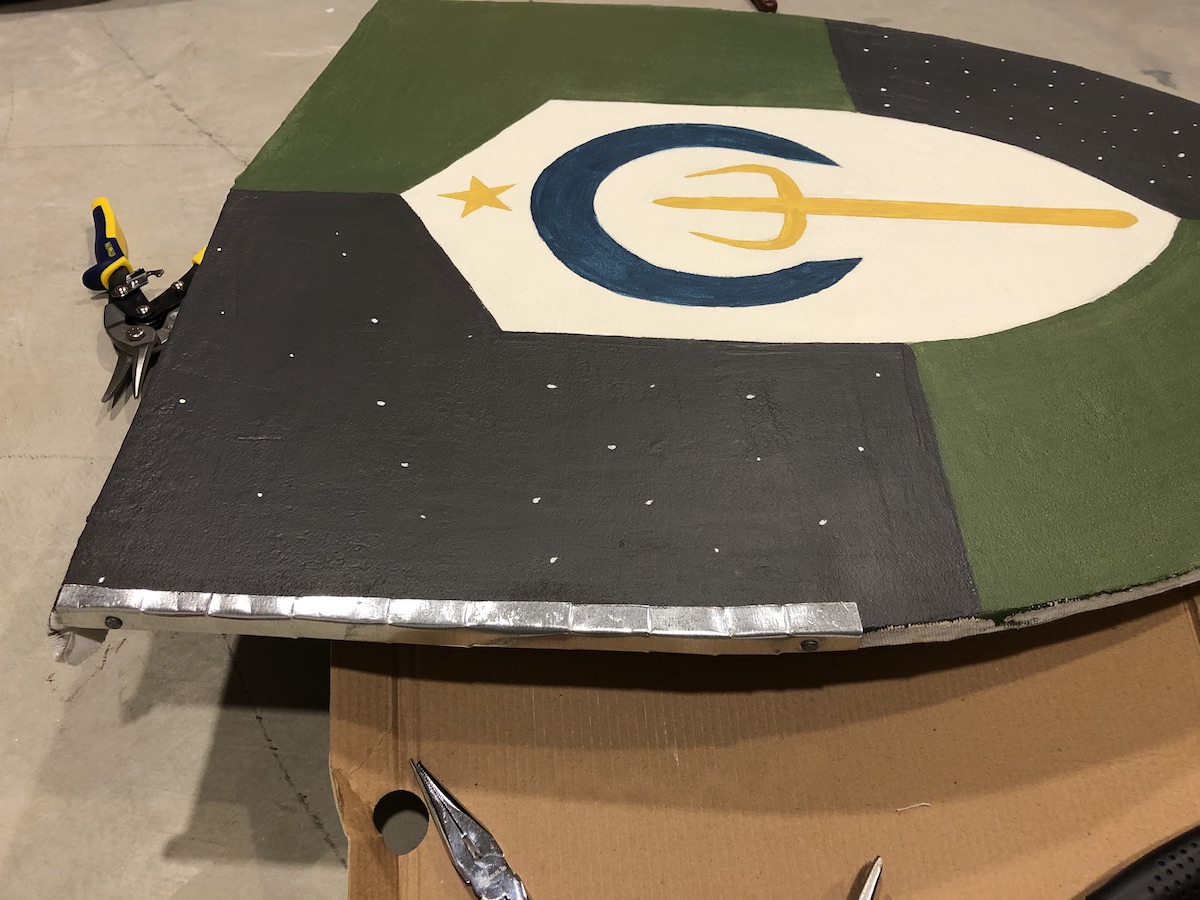
For paint, I had several sample jars in the basement from when my wife collected colors, both from friends and the hardware store, to do a wall mural in the nursery. So I had a pretty good selection. For my first shield I made a basic quartered pattern and then put my website logo in the middle, though I didn't exactly follow the historically correct rules.
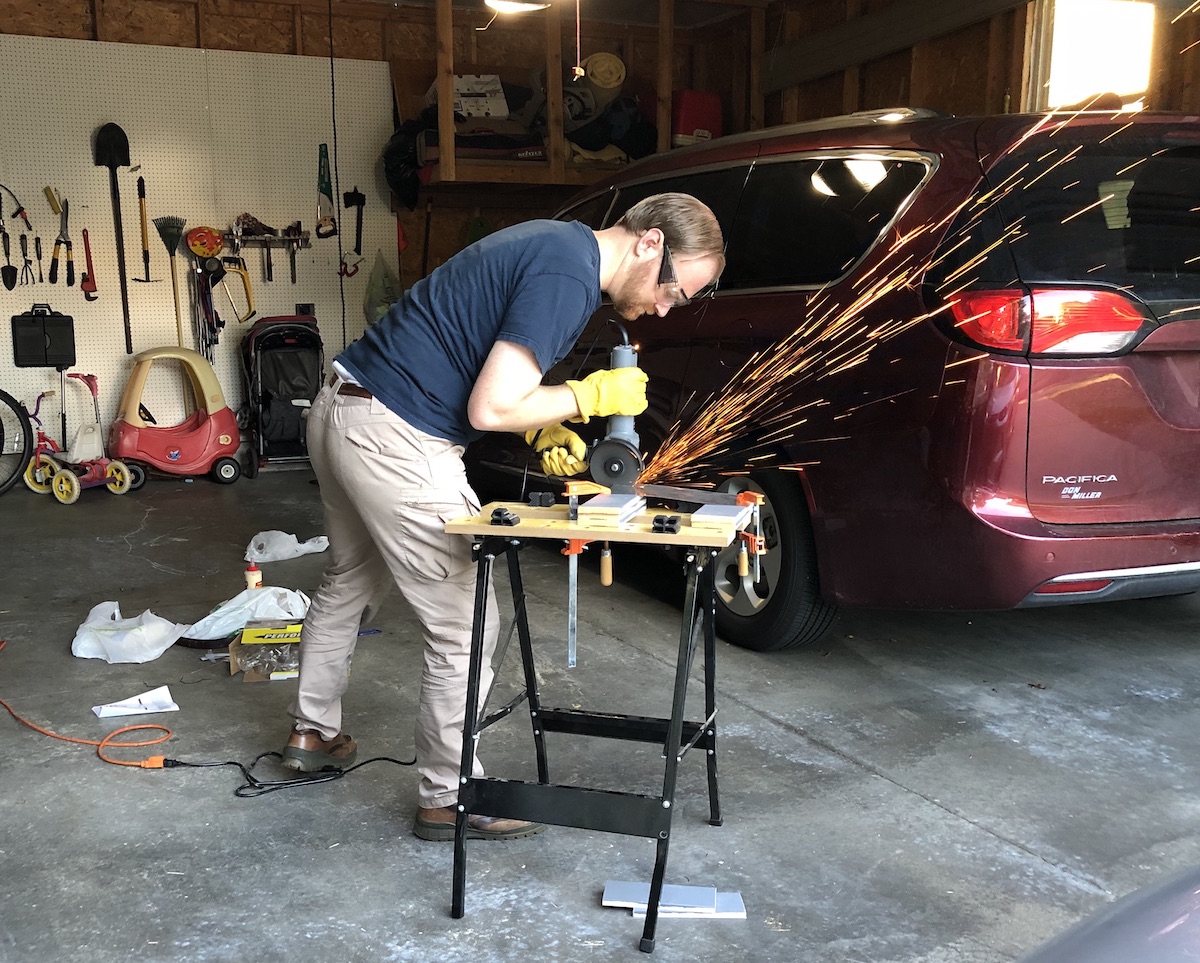
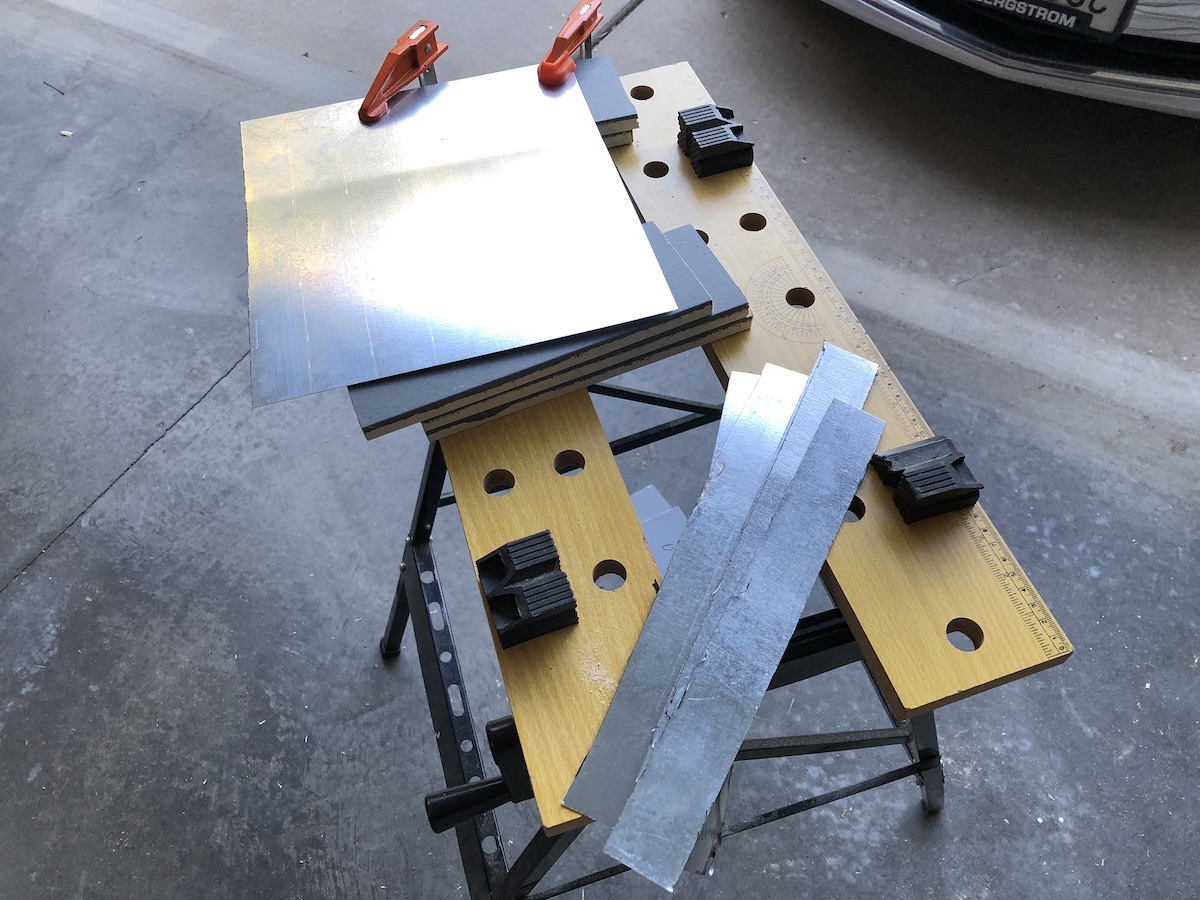
In Shad's video he makes the rim of the shield out of aluminum. I didn't like the way he cut it on a curve to fit the profile of the shield, which seemed like it would be slow and annoying to cut and attach. So I came up with a different plan where I cut a metal plate into straight strips, nailed that to the edge, clipped tabs in the metal above and below the edge, and bent those tabs over. THat was much easier than Shad's curved strips. It gave me an excuse to buy an angle grinder. It was also an excuse to by aviation sheers (instead of tin snips, because I didn't find the softer metal at the store). I like excuses to buy new tools. I also felt pretty cool using the angle grinder with all the sparks flying off. I only messed up on the first inch before I figured out a good technique (also inspired by YouTube videos) and was able to do clean, straight cuts the rest of the way.
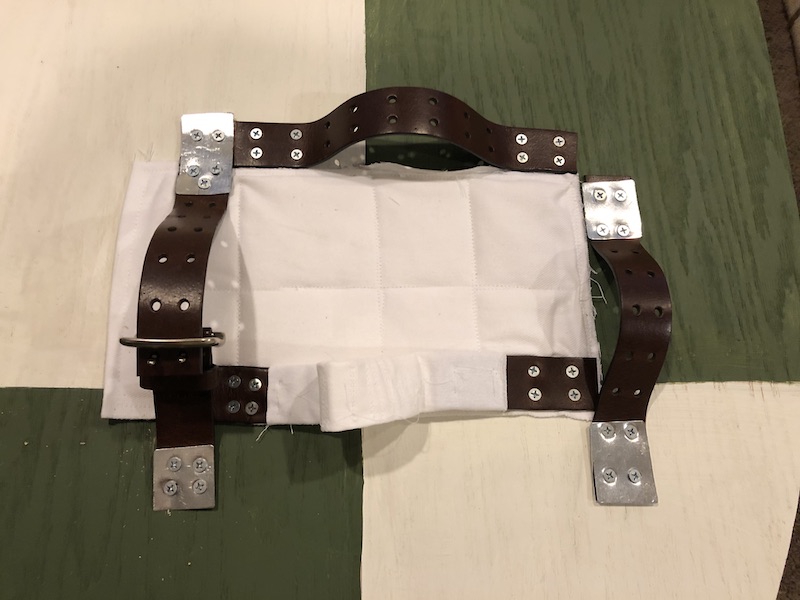
As for a handle, I saw how Shad cheated and used modern screws to attach whatever he had on hand as a handle, so I didn't think it too much of a cheat for me to do the same. But I also wanted to follow Tod's example and make it slightly more accurate if I could. Tod used bits of brass as washers, so I used some extra sheet metal and cut it into squares and sanded off the edges. I used some left over fabric and some cotton batting to make a pad behind the handle. I used an old leather belt from a thrift store to cut up and use as my straps, with the buckle of the belt giving me the adjustability in the one arm strap. Then I held this all together with screws and it seemed to work pretty well.
Conclusion
I was quite pleased with my handiwork. When some friends decided to do a short presentation party, I picked this shield as my topic. Coincidentally, one of my friends chose to talk about how he used rules of heraldry and tincture to create a meaningful family crest, so our topics fit together well. But after a while I started thinking of all the things that I could have done differently and started getting an itch to make another shield.
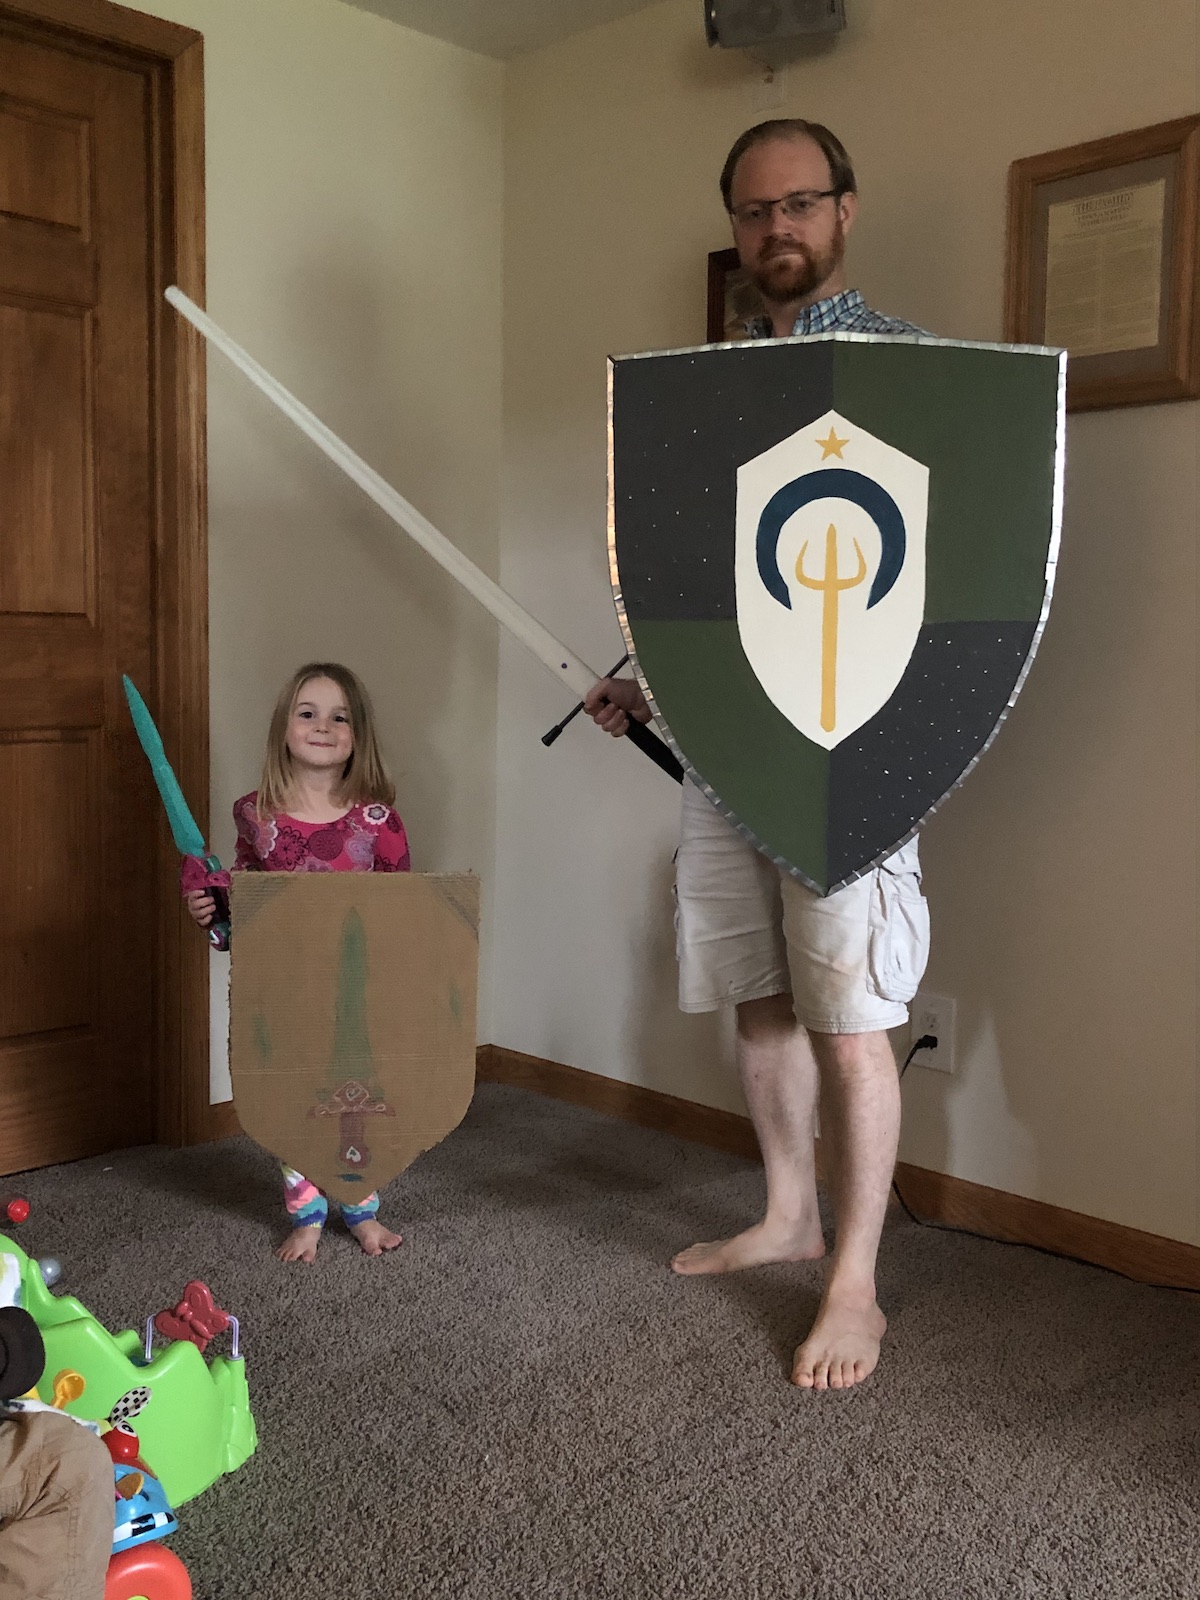
For one, the design I painted on the shield didn't match the historical rules for where to place elements or which colors to mix together. For another, I found out that metal rims are not accurate either. That was just something Shad did which I copied, but watching videos from Tod I discovered that raw hide with thin tack nails would be more accurate. Also that metal rim has some sharp edges where the tabs fold over, so you have to be careful when touching it. The shield is also not curved inwards like a real shield but is instead a flat plane. So, there was definitely room for improvement.
So once I took a long break from my long project, I started planning a follow-up project. But I'll save that for the next blog entry.